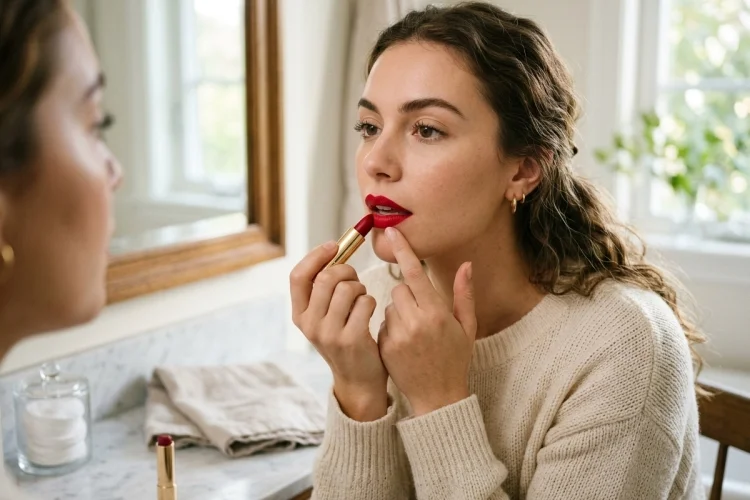
Applying lipstick directly from the tube looks simple until you try a bold red, deep berry, or dark brown shade.
Suddenly, tiny mistakes around the lip line become obvious, the Cupid’s bow looks uneven, and one corner somehow has much more color than the other.
Fortunately, a lip brush is not necessary for creating clean, polished lipstick. With proper lip preparation, a little help from lip liner, and a controlled application technique, you can get surprisingly precise results using the lipstick bullet itself.
Learning how to apply lipstick neatly without using a brush is especially useful when you want a quick everyday routine or need to touch up your makeup while away from home.
The secret is to avoid treating lipstick application like one big swipe. Instead, work gradually from the center toward the edges and use the natural shape of the lipstick bullet to guide your placement.
With a few simple techniques, even highly pigmented lipstick can look smooth, balanced, and intentionally applied.
1. Prepare Your Lips Before Applying Color
Neat lipstick begins with a smooth base.
If your lips are visibly flaky, pigment may collect around dry patches and make them more noticeable. This can be particularly obvious with matte and highly pigmented formulas.
For mildly flaky lips, gently remove loose skin with a damp washcloth or an appropriate lip exfoliating product. Do not aggressively scrub cracked, sore, or irritated lips.
Afterward, apply a comfortable lip balm and let it absorb while you finish the rest of your makeup.
Maybelline recommends moisturizing before lipstick, particularly when wearing matte formulas, while L’Oréal Paris also emphasizes preparing dry lips before adding strong lip color.
Before applying lipstick, gently blot away excess balm with a tissue. Your lips should feel comfortable but not slippery.
2. Use Lip Liner as Your Boundary
A lip brush may be optional, but lip liner can make direct lipstick application much easier.
Lip liner creates a visible boundary that tells you exactly where your lipstick should stop. It can also help reduce feathering around the edges and make the overall shape look cleaner.
Choose a liner close to your lipstick shade or close to your natural lip color.
Start by defining your Cupid’s bow. Draw a small diagonal line down from one peak, then repeat on the opposite side to create a subtle “X.”
Next, trace from each peak toward the outer corners.
For the bottom lip, begin around the center and gradually connect the line toward both corners.
Do not worry about creating one continuous perfect stroke. Small, controlled lines are easier to correct.
3. Start Lipstick at the Center of Your Lips
Once the outline is ready, resist the temptation to swipe lipstick straight from one corner to another.
Start at the center.
Maybelline recommends applying bullet lipstick beginning around the center of the upper lip, following the natural contours, and then covering the lower lip.
L’Oréal Paris similarly suggests moving from the center outward to avoid depositing excessive product near the corners.
Place the lipstick bullet against the fullest part of your upper lip and make a short swipe.
Repeat on the opposite side.
Then move to your lower lip, again beginning around the center.
At this stage, do not worry about filling every tiny section near the edges. Build the overall color first and handle precision afterward.
4. Use the Pointed Edge of the Lipstick Bullet
Traditional lipstick bullets already have a useful built-in precision tool: their angled tip.
Instead of holding the lipstick flat against your mouth for every section, rotate the tube.
Use the pointed edge around your Cupid’s bow and upper lip line. The wider flat side can then fill larger areas across the center of your lips.
Think of the lipstick bullet as having two functions.
The broad surface delivers color quickly, while the narrower edge handles detail work.
This technique becomes easier when you expose only a small amount of lipstick from the tube. Twisting the bullet all the way up makes it less stable and increases the chance of accidentally pressing too much product onto your lips.
Work slowly around the edges, especially when using dark or bright colors.
5. Apply Thin Layers Instead of One Heavy Coat
More lipstick does not automatically mean better color.
A thick layer can slide around the lip line, transfer more easily, and collect around the corners of your mouth.
Start with one thin, even layer.
After covering both lips, gently press them together once or twice to distribute the color. Avoid repeatedly rubbing them back and forth, particularly with liquid or long-wearing formulas that are designed to set.
If you want more intensity, add another thin coat only after checking the first one.
This approach is particularly useful with dark lipstick because mistakes remain smaller and easier to correct.
It also gives you more control over the finish. You can stop after one layer for softer color or continue building until you reach full opacity.
6. Blot for a Cleaner and Longer-Lasting Finish
Blotting is one of the easiest lipstick tricks, and all you need is a tissue.
After applying your first layer, gently place a tissue between your lips and press them together.
Maybelline specifically recommends blotting excess lipstick with tissue as part of basic lipstick application and touch-ups.
Blotting removes some excess product without completely removing the color.
You can then apply another thin layer.
This creates a simple layering effect that can feel lighter than applying one very thick coat.
Blotting can also reduce the amount of lipstick likely to end up on your teeth.
Do not rub the tissue aggressively across your lips because that can disturb your carefully created edges. A gentle press is enough.
7. Keep the Corners of Your Mouth Light
The corners of your lips are one of the easiest areas to overload.
Too much lipstick there can create smearing when you talk or smile.
As you move outward from the center of your lips, gradually reduce the pressure on the lipstick bullet. You only need enough pigment to connect the color with your lip liner.
L’Oréal Paris specifically recommends working from the center outward partly to avoid depositing excessive lipstick around the corners.
After application, smile naturally and check each side in the mirror.
If color has extended beyond your natural lip edge, remove it before it sets.
This is especially useful with red, burgundy, purple, and other highly noticeable shades.
8. Fix Mistakes With a Cotton Swab
Nobody applies lipstick perfectly every time.
Fortunately, a lip brush is not required for cleanup either.
If your lipstick moves slightly outside the line, take a clean cotton swab and gently remove the mistake. L’Oréal Paris also recommends cotton swabs as a simple tool for correcting lipstick smudges.
For a small mistake, a dry cotton swab may be enough.
For stubborn long-wearing lipstick, lightly dampen the swab with makeup remover and clean only the affected section.
Allow the area to dry before correcting the lip liner or lipstick.
Try not to immediately enlarge the rest of your lip line just to cover one mistake. Making both sides bigger every time something looks uneven can quickly change your intended lip shape.
Sometimes removing a tiny amount creates a cleaner result than adding more.
9. Choose an Easier Formula When You Are Learning
Different lipstick formulas require different levels of precision.
Cream and satin bullet lipsticks are generally forgiving because they glide easily and can often be corrected before the color sets. Maybelline describes cream and satin bullet formulas as softer, more comfortable alternatives to some matte options.
Matte liquid lipstick can require more control.
Because many formulas set quickly, mistakes around the lip line may become harder to correct after drying. Maybelline recommends starting liquid lipstick near the center and following the lip contours before allowing the product to fully set.
If you are still practicing, begin with nude, rose, mauve, or another medium-depth shade.
Very pale or extremely dark lipstick tends to make uneven edges more noticeable.
Once your hand becomes steadier, move on to bold reds or deeper colors.
10. Check Your Lipstick From a Normal Distance
A magnifying mirror can be useful for precision, but it can also make tiny imperfections seem enormous.
After applying your lipstick, step away from the mirror.
Relax your mouth and smile naturally.
Check whether your Cupid’s bow appears reasonably balanced and whether both outer corners finish at similar points.
Your lips themselves may not be perfectly symmetrical, so do not try to force them into a mathematically identical shape.
If the overall result looks balanced from normal conversational distance, your lipstick is probably neat enough.
For bold colors, check the result in natural daylight too. Good lighting can reveal areas where the lipstick or liner needs a little more blending.
11. Keep Direct Lipstick Application Hygienic
Because lipstick repeatedly touches your lips, basic hygiene matters.
Wash your hands before applying cosmetics and keep lipstick containers clean and properly closed when they are not being used. The FDA recommends these general habits for safer cosmetic use.
Avoid sharing lipstick directly with other people.
Also pay attention to changes in the product. The FDA recommends discarding cosmetics if their smell or color noticeably changes.
Direct-from-the-bullet application is perfectly convenient for your personal makeup routine, but keeping the product clean helps make that convenience more hygienic.
Learning how to apply lipstick neatly without using a brush is mainly about slowing down and working in small sections.
Prepare your lips first, create a simple boundary with lip liner, and apply lipstick from the center outward rather than trying to cover your entire mouth in one swipe.
Use the pointed edge of the lipstick bullet around the Cupid’s bow and lip line, build color in thin layers, and blot away excess product before adding more.
If something goes outside the line, clean it with a cotton swab instead of covering the mistake with even more lipstick.
Try this technique with a comfortable satin lipstick first. Once you can consistently create clean edges with a forgiving formula, practice the same method with brighter reds, deeper shades, and long-wearing lipstick.